As telecommunication networks and power transmission systems grow rapidly, the demand for reliable and cost-effective fiber optic solutions also rises. Among these, ADSS cable installation has become a top choice for utility companies and network engineers alike. ADSS, or All-Dielectric Self-Supporting cable, is designed to be installed without metallic components and does not require messenger wires or support hardware, making it a highly efficient and safe solution for aerial deployments.
If you’re new to this technology and want to understand how to install ADSS cable correctly, you’re in the right place. In this step-by-step guide, ZMS Cables will help beginners gain a comprehensive understanding of the entire ADSS cable installation process, from preparation to final testing.
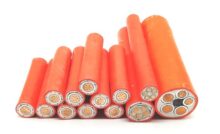
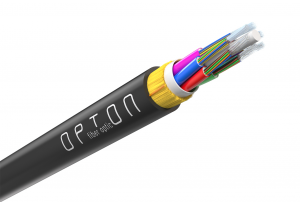
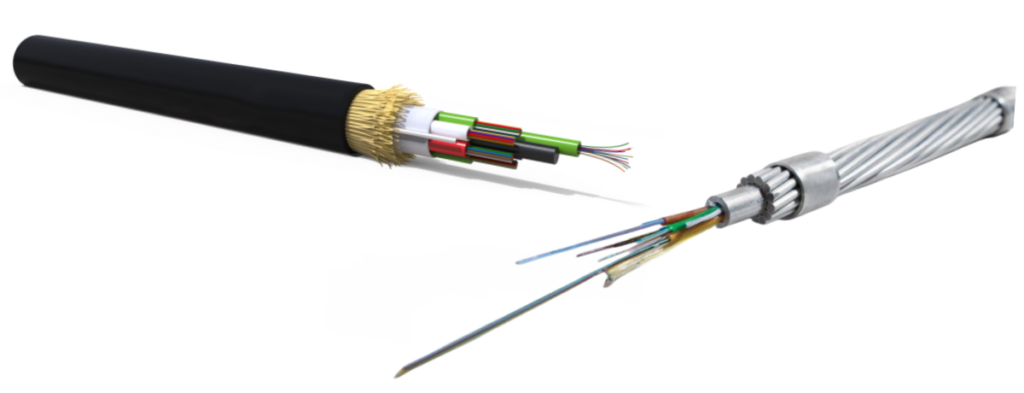
ADSS (All-Dielectric Self-Supporting) кабел is a type of fiber optic cable designed for aerial installation along power lines and telecommunication routes. Unlike traditional cables, ADSS does not require metallic support structures. Instead, it uses high-tensile strength materials like aramid yarn to support itself over long spans between poles or towers.
All-dielectric (non-metallic, safe around high voltage)
Lightweight and strong
Easy and quick to install
Resistant to environmental factors (UV, влага, temperature extremes)
ADSS fiber optic cable, whether in large-scale power engineering projects or a small family electricity play a very big role, is a popular model in the fiber optic cable, so the technical commissioner in the step into the cable industry, must carefully grasp the installation skills of ADSS fiber optic cable.
Cost-Efficient: No need for extra supporting hardware or grounding.
Quick Deployment: Installation can be completed faster with fewer manpower requirements.
Safe Around Electricity: Because of its dielectric nature, it can be installed near high-voltage lines without the risk of electrical conduction.
Long Span Capability: Perfect for crossing rivers, valleys, and open terrain.
Before diving into the step-by-step process, you need to gather essential tools and materials for ADSS cable installation:
ADSS cable with correct sheath type (PE or AT)
Suspension clamps
Tension clamps (dead-end clamps)
Pulley blocks or stringing blocks
Cable pulling grip
Winch or cable puller
Cable markers and tags
Ladders or bucket trucks
Torque wrench
Cable testing equipment (OTDR, power meter)
Helmet
Safety harness
Protective gloves
High-visibility vest
Insulated tools
Before installing the cable, conduct a comprehensive survey of the route:
Measure the span lengths between poles or towers.
Check clearance from power lines and other obstacles.
Identify anchor points и tension zones.
Ensure that poles and cross-arms are structurally sound.
Plan the location of tension and suspension hardware.
A well-done survey reduces installation errors and avoids potential hazards.
Clear the cable path of any vegetation or obstacles.
Ensure all poles are free from damage and structurally ready to bear the cable’s tension.
Mark installation positions for suspension and dead-end points.
Suspension clamps и dead-end (tension) clamps should be installed at designated points. Suspension clamps support the cable weight while allowing slight movement. Dead-end clamps hold the cable tightly and are usually placed at endpoints or turning angles.
Use torque wrenches to apply recommended pressure on clamps.
Avoid overtightening to prevent damage to the cable sheath.
Cable stringing is the process of laying the cable along the poles:
Set up pulley blocks at every pole to guide the cable.
Pull the cable using a winch or manually with pulling grips.
Ensure the cable doesn’t twist, kink, or drag on the ground.
Maintain proper sag between poles (typically 1.5%-2.5% of span length).
Use brake devices if needed to control the cable tension during descent.
Pro Tip: In longer spans or challenging terrains, use a dynamometer to measure and maintain tension within safe limits.
Once the cable is in place, proceed to fix it securely:
Remove pulley blocks one by one, and install suspension clamps.
For ends and angle points, use tension clamps and secure them firmly.
Double-check that all clamps are tight and in correct positions.
Install vibration dampers if the installation is in a windy or mountainous area to reduce cable oscillation.
ADSS cables may require mid-span splicing if the route exceeds the cable’s delivery length.
Strip the outer sheath and core carefully.
Use a splice closure to protect fiber splices from environmental exposure.
Ensure proper fiber alignment during splicing to minimize signal loss.
Label and tag every splice for future maintenance tracking.
Termination typically occurs at a junction box, ODF (Optical Distribution Frame), or pole-mounted enclosure.
After installation and splicing, the cable must be tested to ensure it functions as expected:
Use OTDR (Optical Time Domain Reflectometer) to check:
Splice loss
Total link loss
Reflection points
Distance mapping
Measure signal attenuation with a power meter.
Document all test results for future audits or maintenance.
Only after passing all tests should the ADSS link be brought into service.
Even experienced teams can make errors. Here are a few you should avoid:
Improper Tension Control: Excessive pulling can break fibers or damage the sheath.
Ignoring Minimum Bending Radius: Bending the cable too sharply can damage internal fibers.
Poor Hardware Placement: Incorrect positioning of suspension or tension hardware can lead to sagging or mechanical failure.
Lack of Weather Consideration: Installations in wet or windy conditions can be hazardous and may compromise quality.
Skipping Vibration Dampers: Especially in long spans or open areas, vibration control is critical.
Use AT (Anti-Tracking) sheath for high-voltage environments to resist electrical tracking.
Maintain safe working distances and follow utility safety protocols.
Choose high tensile strength ADSS models.
Carefully calculate sag and use intermediate supports if necessary.
Ensure minimal visual impact.
Adhere to local municipal regulations regarding pole access and cable routing.
While ADSS cables are durable and require minimal maintenance, it’s good practice to:
Perform annual visual inspections of sag, clamp positions, and poles.
Schedule fiber testing every 1-2 years to detect early degradation.
Monitor weather damage after extreme events like storms or earthquakes.
ADSS cable installation may seem complex at first, but with a structured approach and attention to detail, even beginners can manage successful deployments. From route planning to final testing, each step plays a critical role in ensuring the long-term reliability and safety of the fiber optic link.
By understanding the full installation process and avoiding common mistakes, you can ensure a durable, high-performance network that supports modern telecommunications and smart grid infrastructure.
When people hear the term mineral insulated cable, many immediately think of harsh environments like…
In large-scale oil and gas projects, industrial cables are not just accessories—they are the "nervous…
In the world of electrical connections, cable lugs—also known as cable ears or cable terminals—са…
При избора на подходящия каучуков кабел за проект за електротехника, it is critical to…
Dear partners and customers: January 29th, 2025 is the Chinese Lunar New Year – Spring…
Copper wire is a fundamental component in the world of electrical engineering and electronics, valued…